

Custom leather bag making is an in-depth service that blends design, craftsmanship, and personality. From inspiration to finished product, the entire process can be clearly divided into several core stages. Understanding this process is crucial, whether you are a client placing a custom order or an artisan.
1.Requirement Communication & Design Confirmation (Core: Reaching Consensus)
This is the key to ensuring a satisfactory final product and typically accounts for 20-30% of the total timeline.
- Initial Consultation:
- Purpose & Occasion: Daily commute, business, casual, or special event?
- Style Preference: Classic, vintage, modern, minimalist, biker?
- References: Provide pictures, sketches, or an existing bag you like as a reference.
- Functional Needs: Interior structure (compartments, zippered pockets, card slots, laptop sleeve), closure method (zipper, magnetic snap, buckle, lock), strap type (adjustable, detachable, chain, leather).
- Design Development & Proposal:
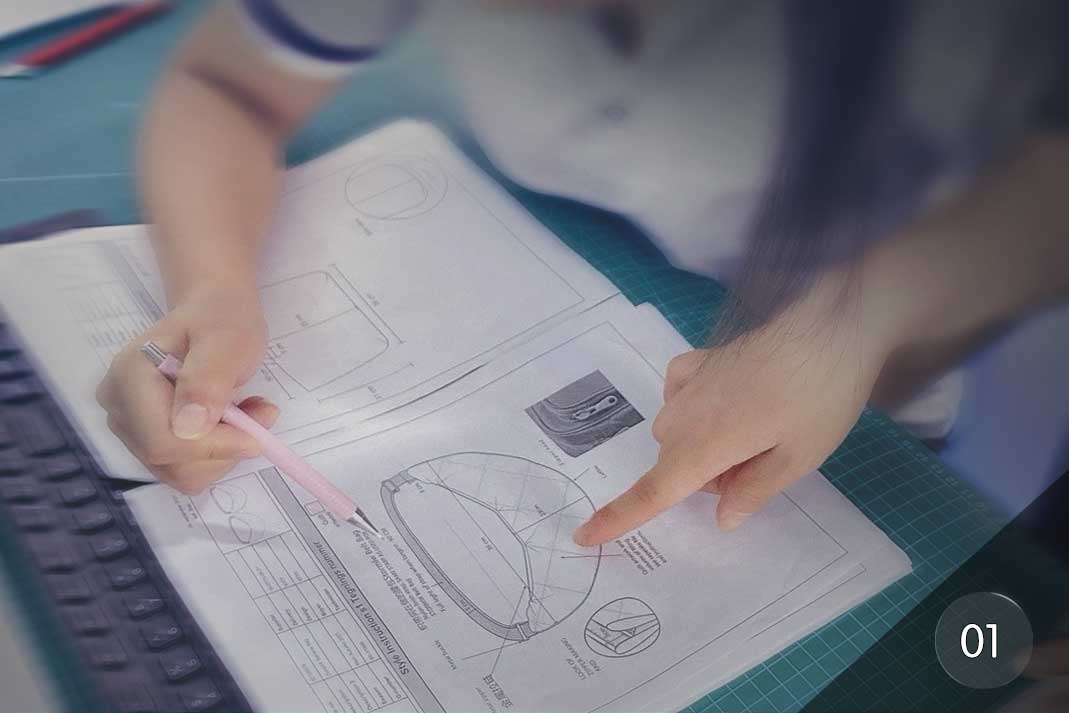
- Sketch/Technical Drawing: The artisan or designer will create 1:1 scale drawings based on the consultation, showing front, side, bottom, and interior views.
- 3D Renderings or Mock-up: For complex designs, software renderings or a “prototype model” made from inexpensive materials (e.g., paper, canvas) might be used to visualize proportions and size.
- Finalizing Details & Quotation:
- Size Confirmation: Exact dimensions in millimeters (length, width, height, depth).
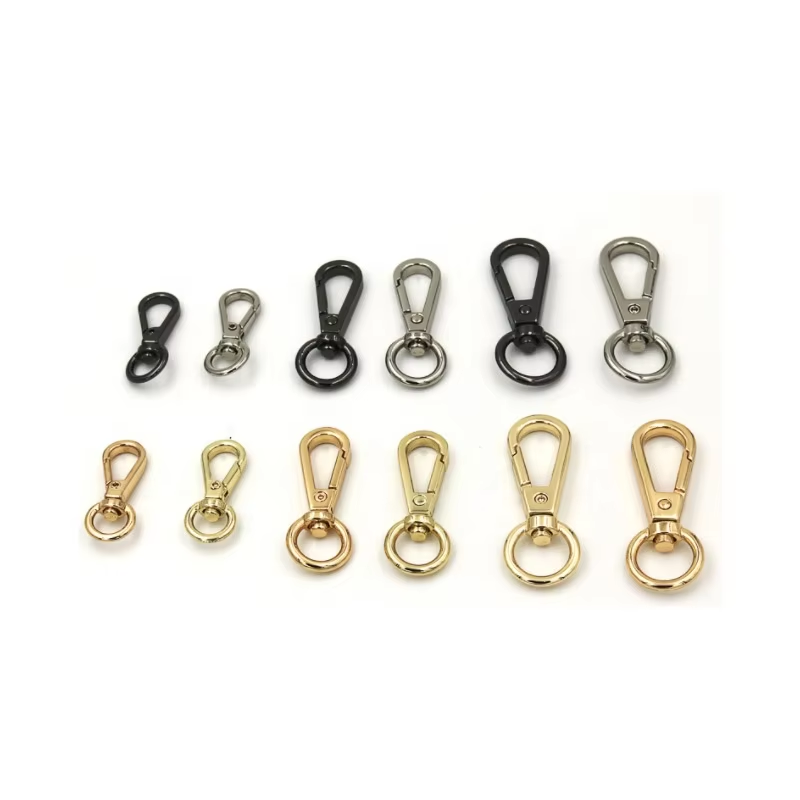
- Material Selection Discussion: Leather type (see next phase), lining fabric, hardware (color, material: brass, stainless steel, antique copper), thread color.
- Craftsmanship & Embellishments: Consider stamping, embossing (name/logo), hand-painting, embroidery, etc.
- Detailed Quotation: Provide a final price and estimated delivery time based on design, materials, and labor hours. The process commences after a deposit (usually 30%-50%) is paid.
2. Material Selection & Preparation
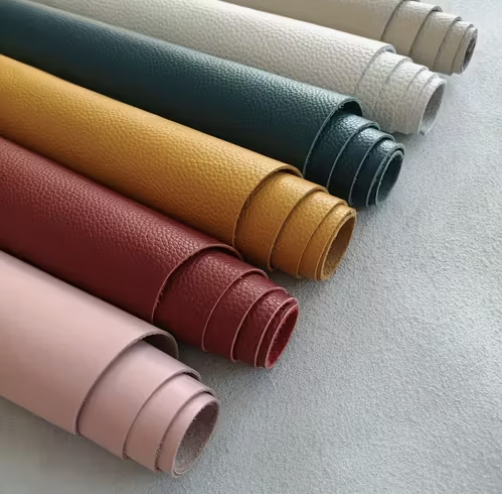
- Leather Selection (The Soul of the Bag):
- Type:
- Vegetable-Tanned Leather: Firm, excellent for tooling and molding, develops a patina over time, ideal for structured bags or items requiring carving.
- Chrome-Tanned Leather: Soft, available in a vast range of colors, water-resistant, suitable for most soft, fashionable bags.
- Combination-Tanned Leather: Hybrid qualities of both.
- Cut & Texture: Different parts (back, belly) have varying grain. Options include full-grain, top-grain, embossed, drum-dyed, pull-up/oiled leather.
- Color & Thickness: Confirm primary and accent colors. Different parts (body, handles, straps) require different thicknesses, often necessitating skiving (thinning) of the leather.
- Type:
- Procurement of Notions:
- Hardware: Purchase zippers, buckles, D-rings, screws, rivets, etc., as per design.
- Lining: Cotton, canvas, suede cloth, or synthetic leather.
- Other: Interfacing/stiffeners (e.g., paperboard, non-woven interfacing, or rigid resin for shaping), adhesive, edge paint/finish, thread.
3. Pattern Making & Cutting (The “Cutting Room” Craft)
This is the foundation for ensuring symmetry, repeatability, and precision.
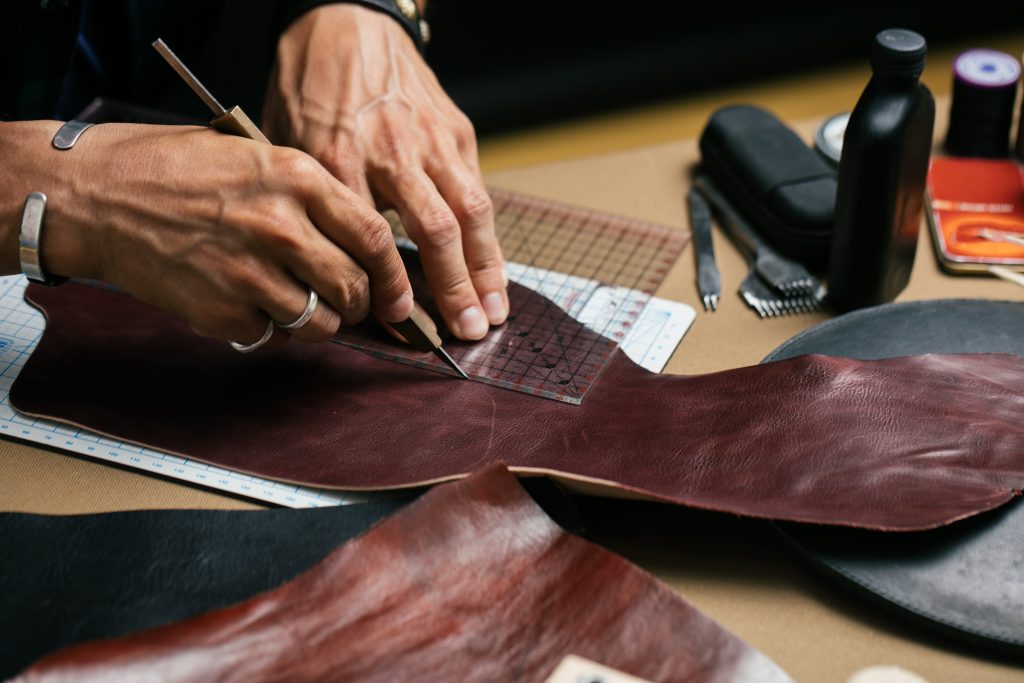
- Creating Paper Patterns: Based on the technical drawings, create 1:1 hard paper templates for every leather component. Patterns must include seam allowances, alignment marks, fold lines, hardware placement marks, etc.
- Material Estimation & Layout: Arrange the paper patterns on the selected leather hide like a puzzle. This “nesting” process aims to maximize material usage while avoiding natural flaws (scars, insect bites, stretch marks).
- Cutting the Leather: Use a utility knife, rotary cutter, or industrial clicker die to precisely cut out all components along the pattern edges. This is the “clicking” or cutting process.
4.Component Pre-Treatment & Construction
Individual parts are meticulously prepared before final assembly.
- Flesh Side Finishing: The rough back side (“flesh side”) of the leather is sanded and treated to make it smooth and presentable.
- Edge Finishing (Individual Parts): Edges that won’t be sewn immediately are dyed, sanded, and burnished (with edge paint or wax). This often highlights high-end craftsmanship.
- Laminating & Interfacing: Leather is bonded with interfacing/stiffener using eco-friendly adhesive to add structure or shape retention.
- Constructing Small Components: Independently make pockets, card slots, interior dividers, handles, straps, etc.
- Handle/Strap Making: Often involves laminating multiple layers, filling, shaping, and stitching – a complex process.
- Hardware Installation (Pre-Assembly): Attach buckles, D-rings, etc., at the appropriate stage.
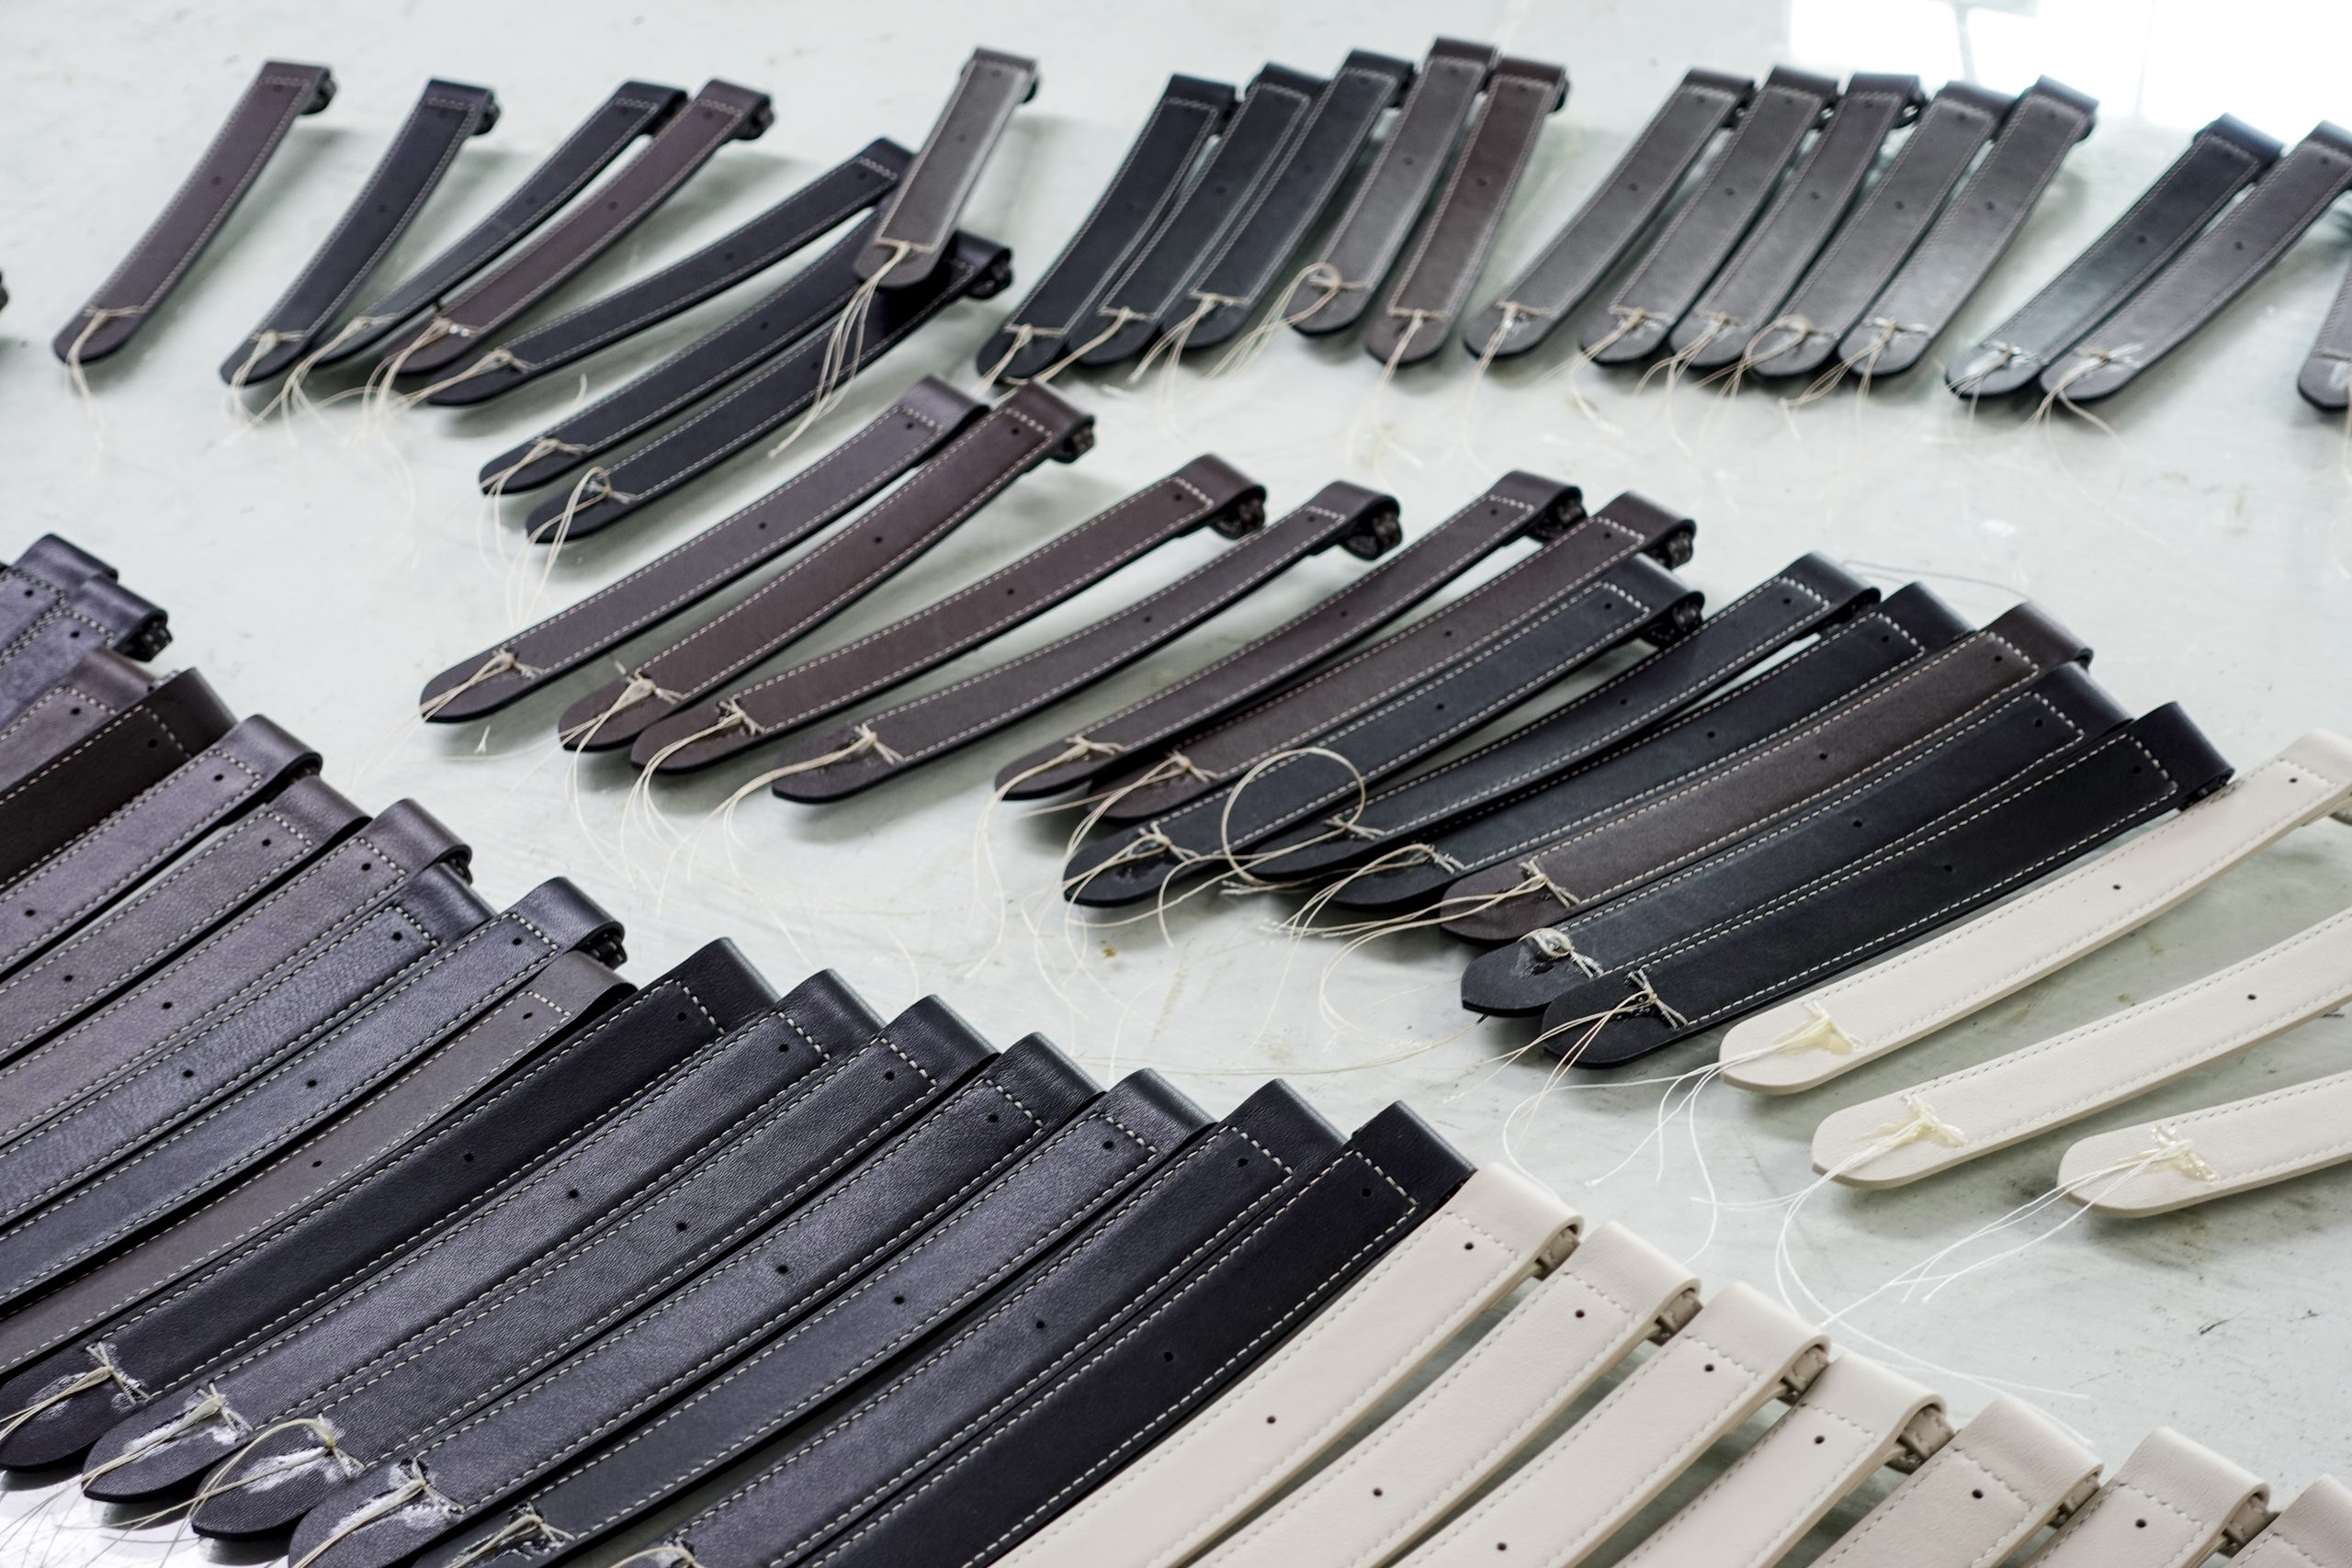
5. Assembly & Stitching (Core Formation)
- Positioning & Gluing: All parts to be sewn are temporarily bonded in sequence using adhesive (“white glue” or specialty contact cement) to prevent shifting during stitching. This is the “cementing” process.
- Punching Stitch Holes:
- Hand-Sewn: Use pricking irons, wing dividers, or French irons to punch evenly spaced holes along the edges.
- Machine-Sewn: Use an industrial leather sewing machine.
- Stitching:
- Hand-Sewn Saddle Stitch: The strongest and most classic technique. Uses two needles passing through the same hole from opposite sides, creating a durable, characteristic wavy stitch.
- Machine Stitch: Efficient and produces consistent, neat stitches.
- 3D Shaping: Some bags require molding over a form or using tools to shape them from 2D pieces into a 3D structure after stitching.
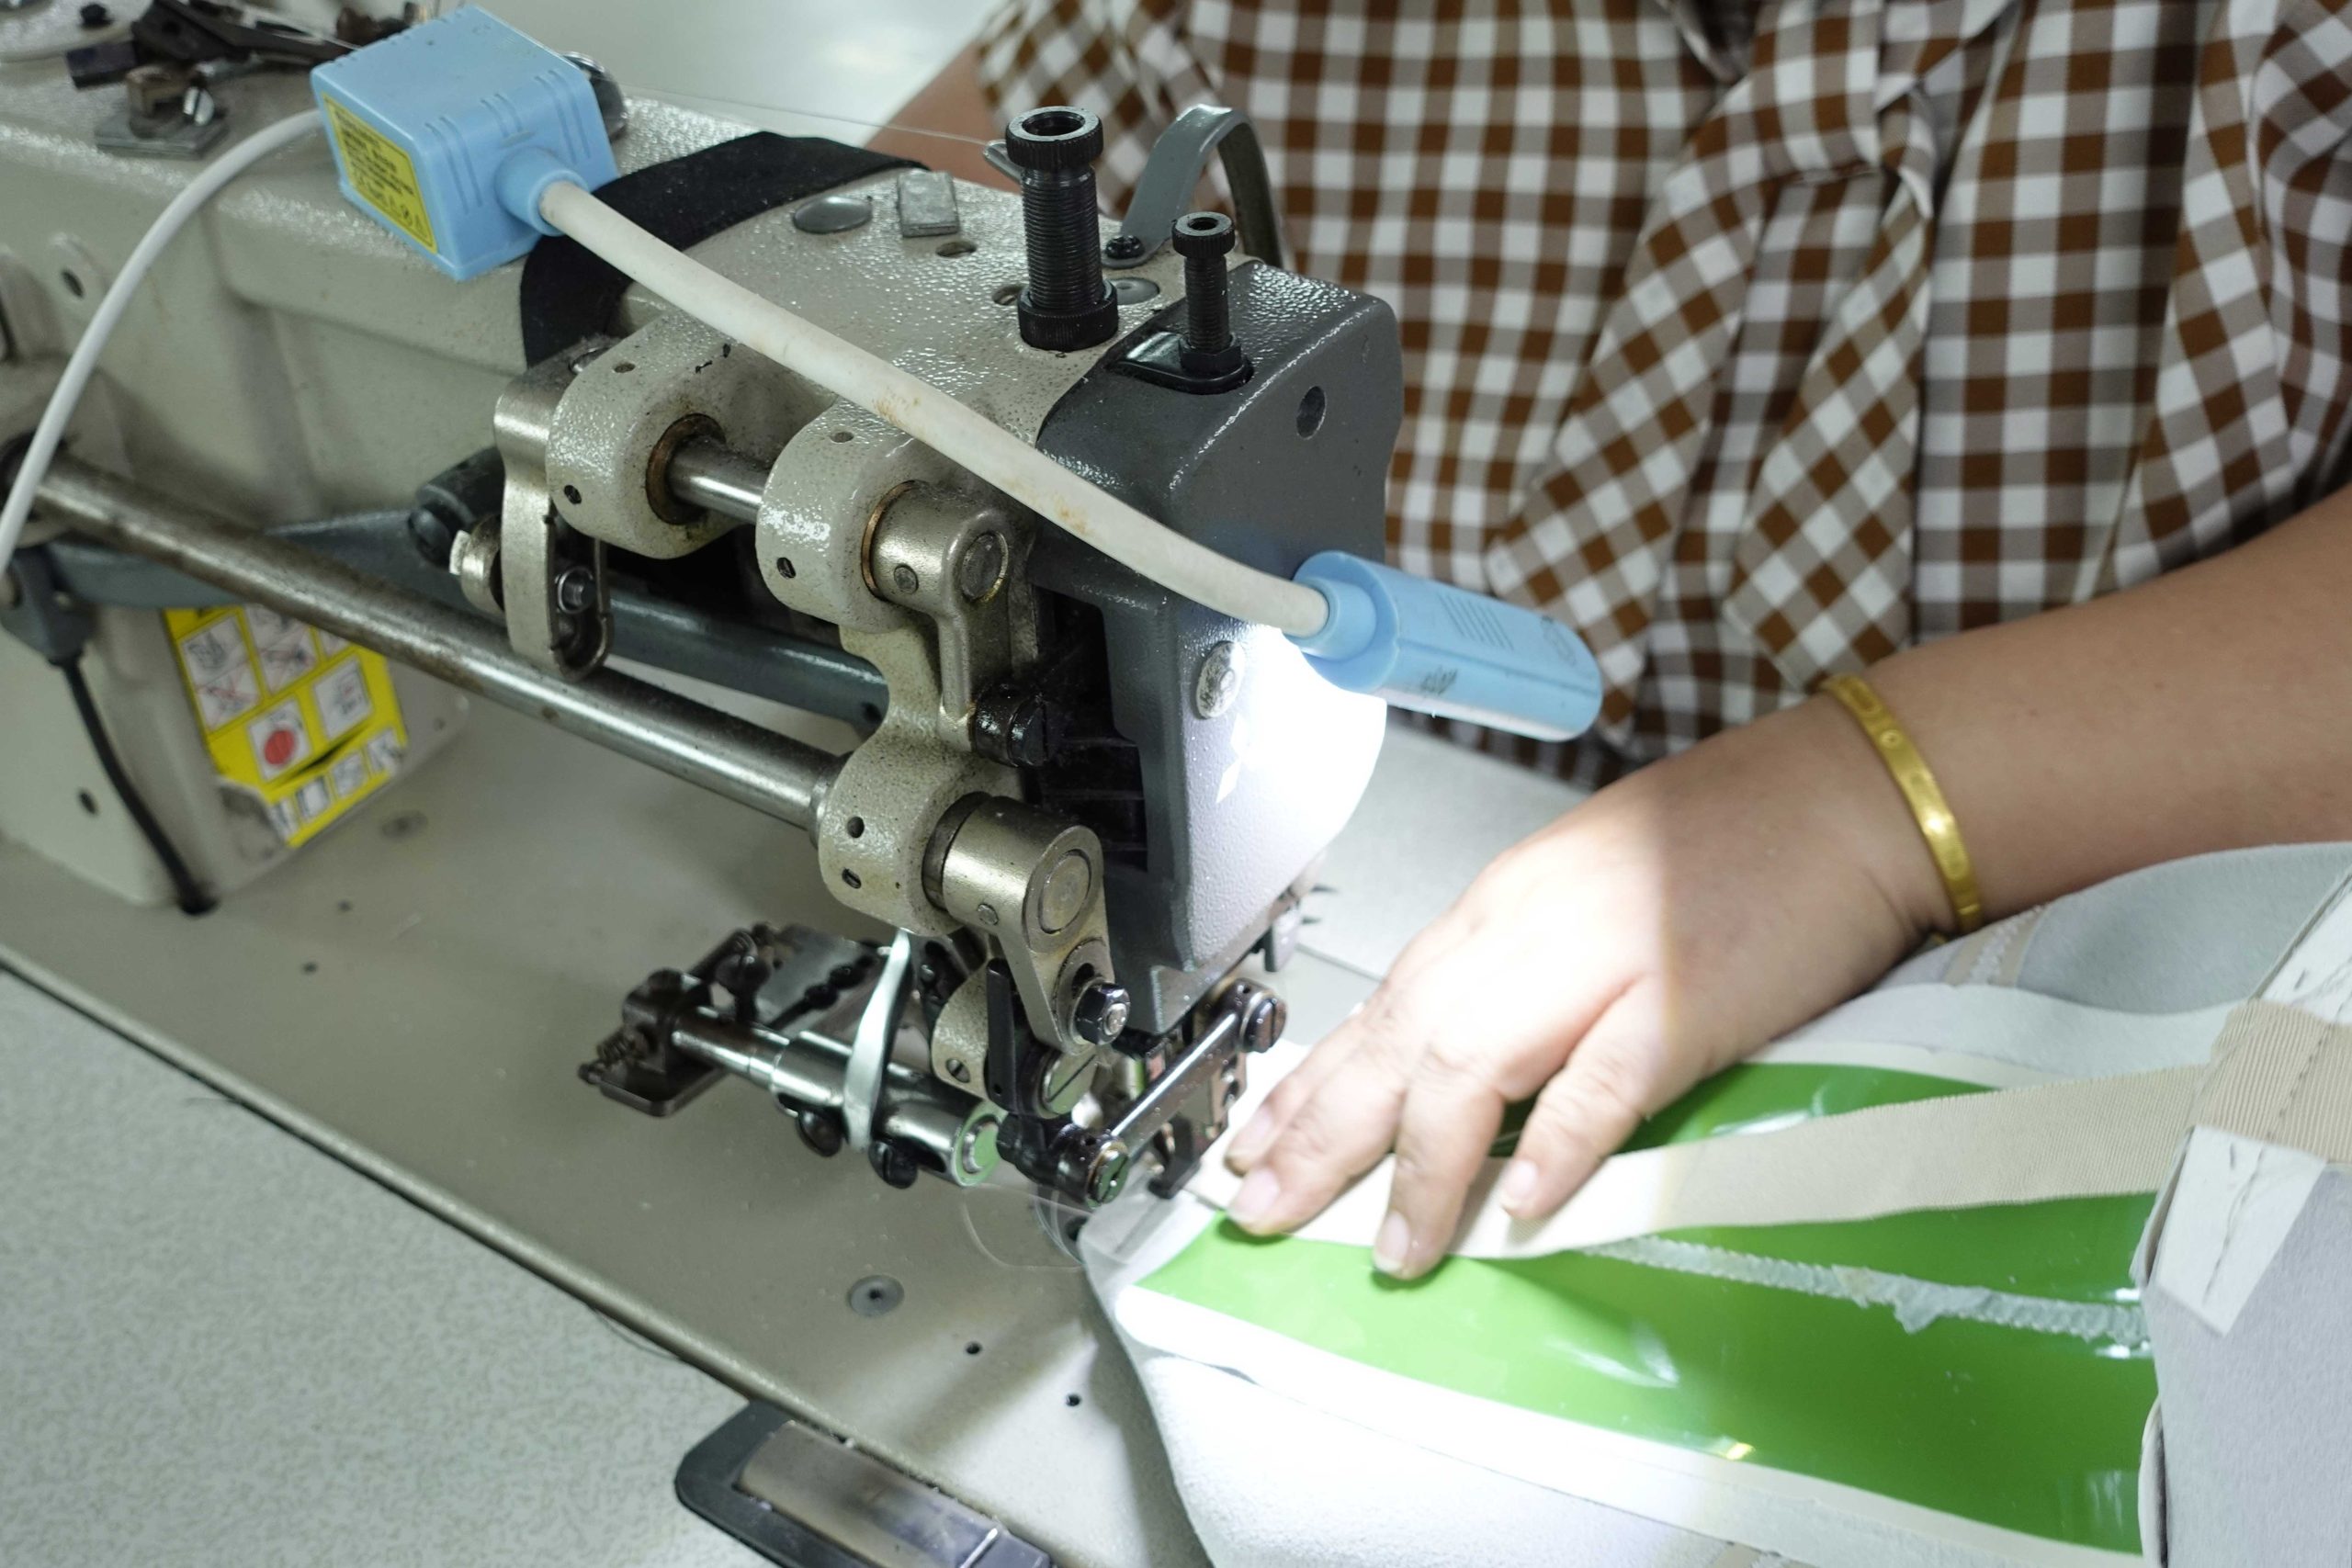
6. Final Finishing & Quality Control
- Comprehensive Edge Finishing: All exposed edges of the completed bag undergo final, uniform sanding, dyeing, waxing, and polishing to achieve a smooth, glass-like finish.
- Cleaning & Conditioning: The leather surface is cleaned with specialized products to remove fingerprints and dust, and often conditioned.
- Hardware Protection: Protective film may be applied to hardware.
- Interior Finalization: Install the lining (if not sewn in earlier), insert tissue paper or stuffing to maintain shape.
- Thorough Quality Inspection: Check for uniform and secure stitching, perfect edges, fully functional hardware, symmetry, and overall quality.
- Packaging & Delivery: Package carefully with care instructions and ship to the client. The final balance is paid upon client approval.

Time & Value
- Timeframe: A custom bag of medium complexity, from consultation to delivery, typically takes 4 to 12 weeks or longer. The purely handcrafted elements (cutting, finishing, stitching) alone can require tens to over a hundred hours.
- Value Proposition: The value of a custom leather bag lies not just in “a bag,” but in the unique design, deep collaboration with the artisan, premium materials, and time-intensive, exquisite craftsmanship.